Step 1
 |
Cut skull portion of horns so that they will fit into the slot molded into the horn mounting block. |
 |
When cut, the horns should fit properly into the slot. |
Step 2
 |
Drill two holes into the skull and screw two dry wall screws into the horn mounting block. If the screws should protrude out the back, they can be broken or ground off. |
 |
Side view of the skull plate positioned into the horn mount block. |
Step 3
 |
Mix the mache provided with water to a thick consistency. Adding too much water will cause the mache to sag. Smooth over the exposed skull plate blending the mache onto the horn mount block. Let dry. |
 |
Side view with mache added.
tip: Use Bondo instead of mache. Sets much faster. watch for sagging |
Step 4
 |
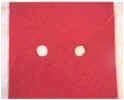
You are now ready to cover the horn mount block. Measure the distance between the horn burrs as shown. |
|
|
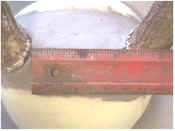
In the middle of the felt material, spread two quarters the same distance apart as you measured on the skull. The white lines represent the proper cutting angle. see next step |
|
|
Cut along the white line to the center of the quarter, then cut the circle where the quarter was located, mark the quarter area with a pen prior to removing. |
Step 5
 |
Position the felt over the horn block. Additional cuts will be needed as you position the felt in order to trim away unwanted material. Pull the felt tight around the base and staple or tack material down |
 |
Side view showing proper angle for cut. |
Step 6
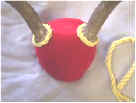 |
Glue gold braid (or color of choice) around the base of the antler burr and the base of the mount. |
Step 7
 |
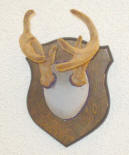
Drill two holes through the wood panel and attach the completed horn mount using the two drywall screws provided Many also place gold braid around the base where it joins the panel. |
Completed Horn Mount on wall
 |
Consider these options:
Use hair-off tanned deer skin or Swede leather instead of felt.
Instead of gold braid, use braided leather shoe stings
Hot glue guns work well if available.
Wax the horns with Antler Conditioner to rejuvenate them
